
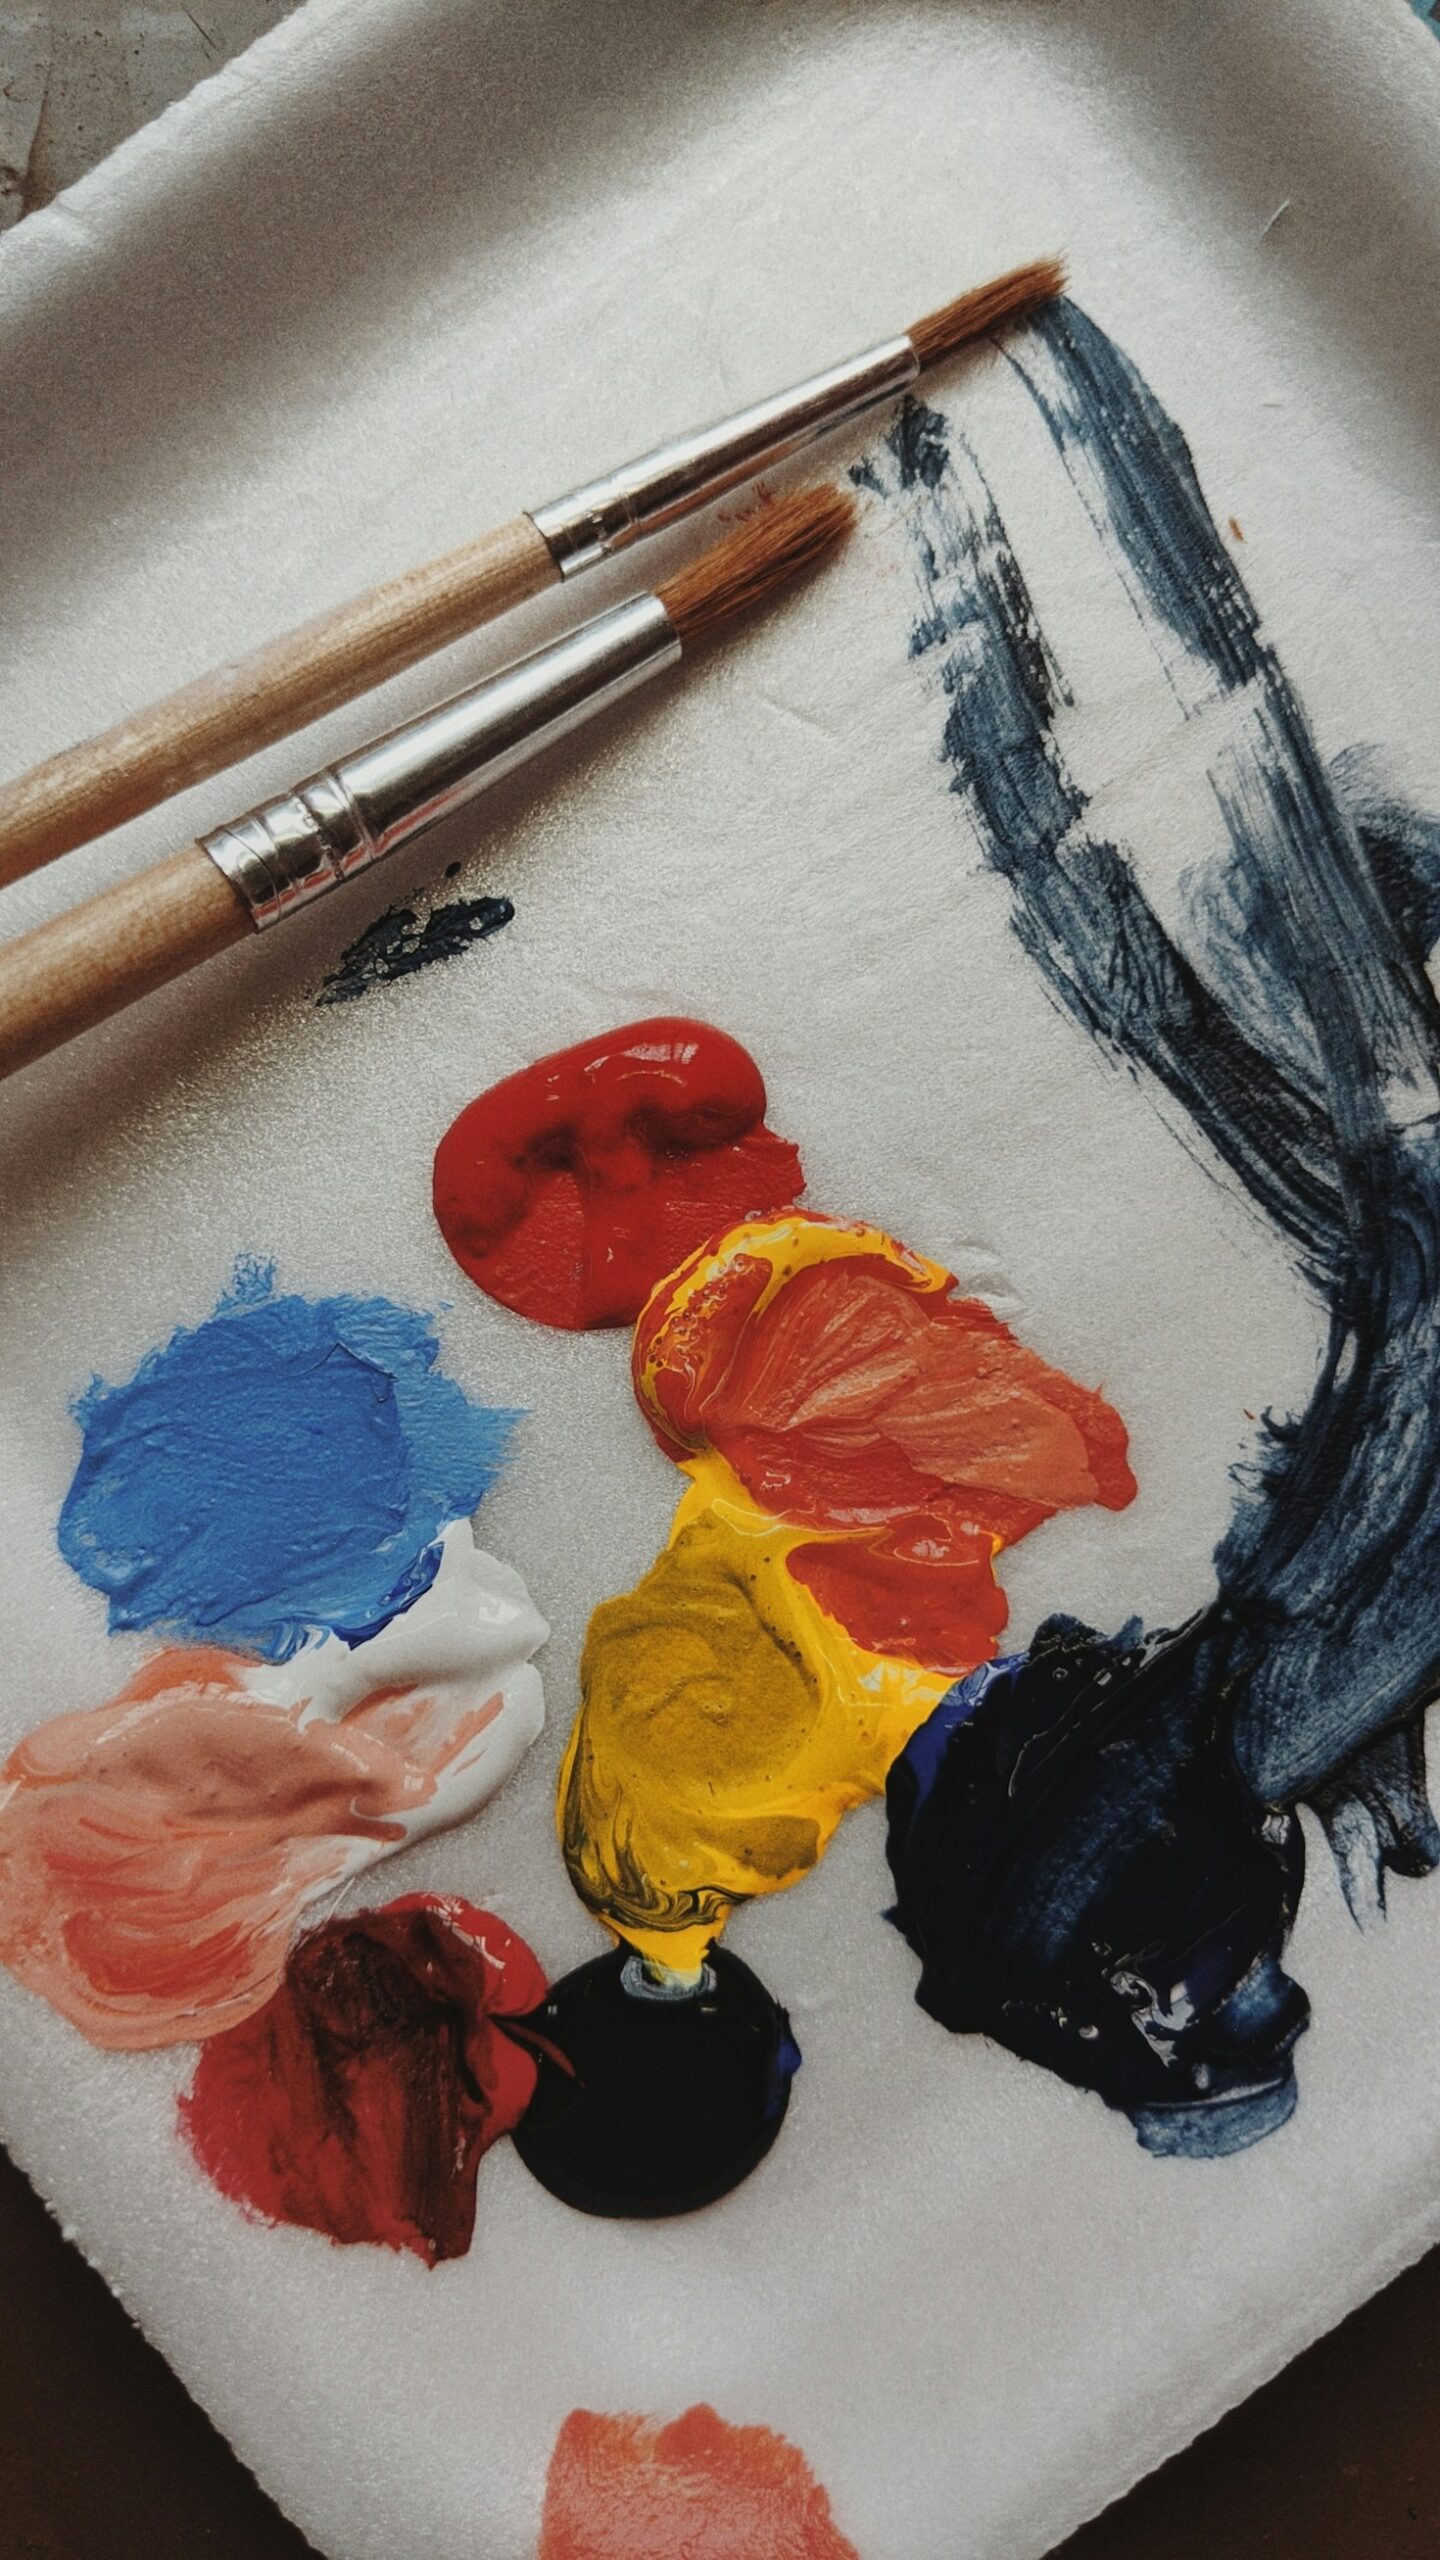
Every artist dreams of a sprawling, sun-drenched studio with high ceilings and custom cabinetry. The reality for most creatives, however, is a spare bedroom, a corner of the garage, or a cramped apartment.
The good news? A highly functional and inspiring studio is about workflow, light, and organization, not square footage or expensive furniture. You do not need a massive budget to build a space that elevates your practice. Here is a comprehensive guide to building your personal art studio on a budget.
1. Claiming and Prepping Your Space
Before buying anything, you need to define your territory. You don’t need to rent a commercial space; you just need to optimize what you already have.
- Zone Your Room: Divide your space into three distinct zones:
- The Wet Zone: For mixing, washing, and messy work.
- The Dry Zone: For drawing, detailing, and digital work.
- The Storage Zone: For materials, drying racks, and reference books.
- Protect the Surfaces: Don’t buy expensive “artist-grade” drop cloths. Head to a hardware store and buy heavy-duty canvas tarps; they cost a fraction of the price and do the exact same job. For floors, consider interlocking foam mats or peel-and-stick vinyl tiles to protect against spills and make cleanup easy.
- Create a “Sink” if You Don’t Have One: If your space lacks a utility sink, buy a large plastic storage bin with a spigot at the bottom. Place it on a sturdy table. This gives you a dedicated washing station without the cost of plumbing. (Note: Always let sediment settle and dispose of it in the trash, rather than pouring heavy paints down your household drain!)
2. Mastering Lighting on a Dime
Lighting is the single most important element of an art studio. Poor lighting will ruin your color mixing and strain your eyes. Fortunately, fixing it is cheap.
- Maximize Natural Light: Clean your windows thoroughly. Place a large mirror opposite the window to bounce natural light deeper into the room.
- Upgrade Your Bulbs: Standard household bulbs emit a warm, yellow light (around 2700K) that will completely distort your color perception. Swap them out for Daylight LED bulbs (5000K to 6000K). They are inexpensive and mimic natural sunlight.
- Hardware Store Clamp Lights: Instead of buying expensive studio lamps, buy aluminum clamp lights from a hardware store. They cost around 10to 15 each, can be clamped to shelves or tables, and provide excellent, adjustable directional light.
3. Furniture and Storage Hacks
Furniture is where studio budgets usually blow up. Avoid this by prioritizing function over aesthetics and embracing DIY solutions.
- The Work Table: You don’t need a $500 drafting table. Buy an IKEA butcher block countertop or a solid-core door from a salvage yard, and place it on top of two sets of metal sawhorses or inexpensive IKEA Alex drawer units. It provides a massive, sturdy workspace for a fraction of the cost.
- The Easel: If you paint on canvas, a basic wooden H-frame or A-frame easel is all you need to start. If you are handy, you can even build a sturdy studio easel out of PVC pipes or standard lumber for under $30.
- Smart Storage:
- Use clear plastic drawer units (like IKEA Alex or hardware store bins) to store supplies. Seeing what you have prevents duplicate purchases.
- Repurpose mason jars, tin cans, or old coffee mugs to hold brushes, pencils, and tools.
- Mount a pegboard on the wall for hanging scissors, tape, and small tools. It keeps them visible and off your workspace.
4. The Golden Rule: Where to Save vs. Where to Splurge
Tying back to our previous discussion on material quality, building a budget studio requires knowing exactly where to cut corners and where to invest.
Where to SAVE:
- Furniture and tables.
- Lighting and storage bins.
- “Utility” brushes (use cheap brushes for applying gesso, gluing, or mixing heavy textures).
- Cleaning supplies (use cheap sponges, paper towels, and hardware store soap).
Where to SPLURGE:
- Your actual art materials. Do not buy cheap, student-grade paints or acidic paper just to save money. High-quality pigments, good brushes, and archival surfaces are the tools of your trade. A beautiful studio means nothing if the materials you are using are compromising your art. Buy fewer, but better, materials.
5. Cultivating the “Studio Vibe”
A studio should feel like a sanctuary that triggers your creative brain the moment you walk in. You can build this atmosphere for almost nothing.
- The Inspiration Wall: Dedicate one wall to your visual diet. Use a cheap corkboard, or simply pin reference photos, sketches, and color palettes directly to the wall using painter’s tape.
- Audio Environment: Invest in a decent, affordable Bluetooth speaker. Music and podcasts are vital for getting into the “flow state” during long studio sessions.
- Physical Comfort: If you stand while working, buy an anti-fatigue mat (often found cheaply at hardware stores or office supply outlets). If you sit, prioritize a chair with good lumbar support over one that looks stylish. Your physical health directly impacts your ability to create.
6. The “Buy Nothing” Studio Expansion
As your practice grows, your needs will change. Before spending money on new gear, tap into the secondhand market.
- Thrift Stores and Estate Sales: Great for finding solid wood furniture, unique jars, vintage frames, and old books for reference.
- Facebook Marketplace / Craigslist: The best place to find heavy-duty shelving, metal racks, and large tables. Often, people are just trying to get rid of these items and will give them away for free or very cheap if you are willing to haul them away.
- Art School Discards: If you live near a university, check their bulletin boards or wait until the end of the semester. Art students frequently sell or give away perfectly good equipment when they graduate or change mediums.
Conclusion
Building a personal studio on a budget is an exercise in creativity itself. It requires looking at a mundane spare room and seeing the potential for a creative sanctuary.
Remember that a studio is not defined by how much money you spend on it, but by how well it serves your creative process. Start with the essentials: good light, a sturdy table, and high-quality core materials. As your art grows and generates its own value, you can slowly upgrade your space. Until then, let your resourcefulness be the first masterpiece you create in your new studio.
Leave a Reply